Crawlspace Encapsulation
Reducing Moisture and Humidity
Moisture is a major concern for many homeowners, potentially causing both structural problems and health issues. Crawl spaces are common victims to excessive moisture due to dirt floors and lack of insulation. Installing a proper vapor barrier and insulating your crawlspace can reduce the potential for mold and mildew, wood rot, and odors in your crawlspace.
- Increases home comfort.
- Higher quality air in area and throughout your home.
- Difficult for invasive pests to settle.
- Improved home energy efficiency.
- No mold or fungi to cause structural damage.
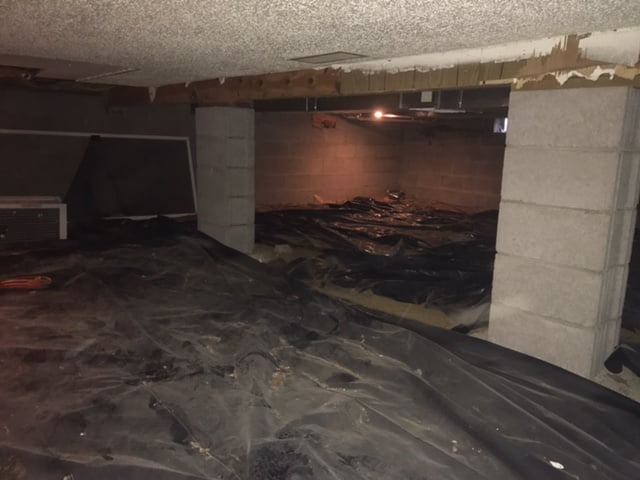
STEP 1
PREPARATION
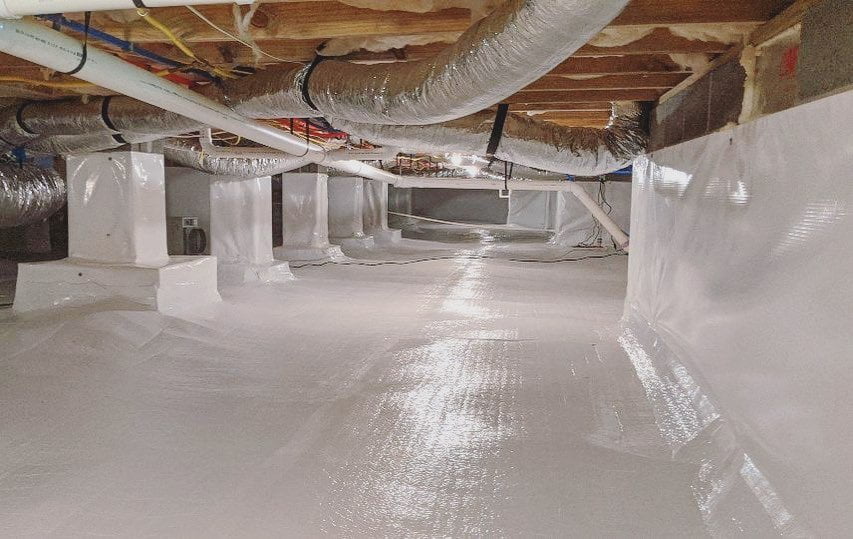
STEP 2
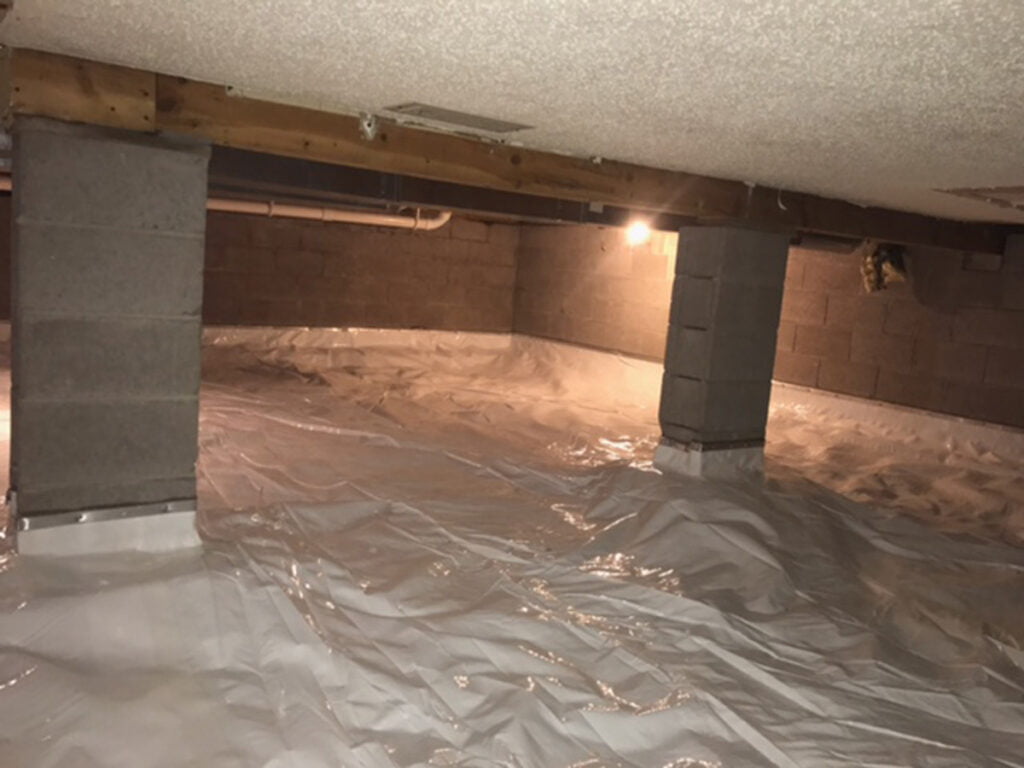
VERTICAL WALLS
STEP 3
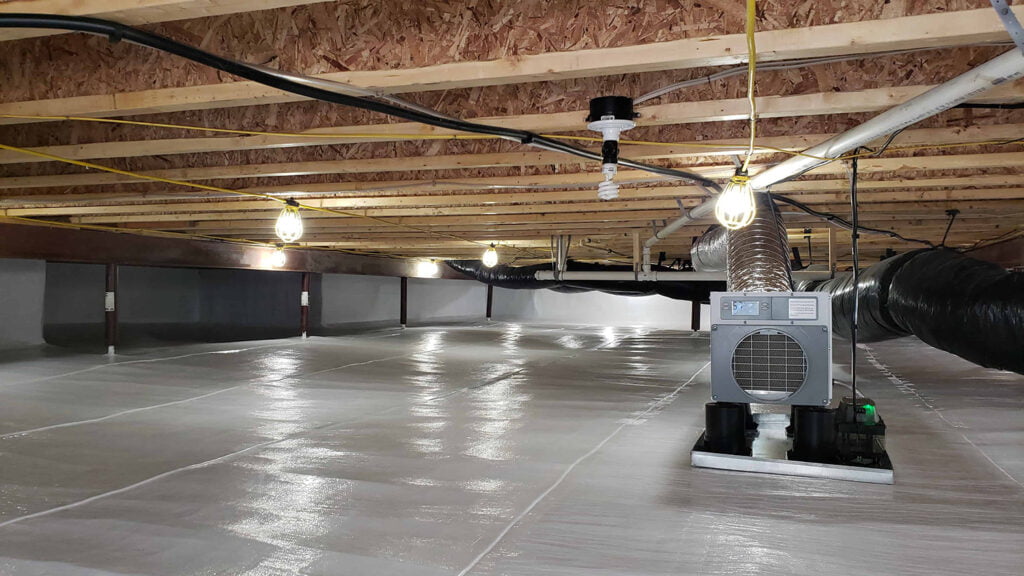
SEALING THE SPACE
STEP 4
MONITORING
CRAWLSPACE ENCAPSULATION
Installation Steps
Proper drainage, sealed vapor barrier and humidity control.
IMPROVING AIR QUALITY
Crawlspace Encapsulation - Steps and Benefits
When fully encapsulating a crawl space, many steps are taken to eliminate moisture and all moisture related issues. When you stop moisture issues in your home, you no longer have to deal with mold, wood rot, insects, odors, etc. There also are many other benefits of encapsulating your crawl space.
Crawl space encapsulation can improve your energy savings and significantly reduce humidity.
Things we consider while installing the system:
- Proper Drainage – at this time we assure that the water is properly directed away from the foundation.
- Vapor Barrier – a sealed barrier, will extend up the foundation walls and support posts and properly terminated.
- Insulation – for additional comfort and energy savings insulation can be added.
- Air return – Assuring proper ventilation of the crawl space is important to maintain the proper climatic conditions.
- Humidity control – unit specifically designed for crawl space humidity control is installed.